Optical Surface Inspection
Inspection of matte and glossy surfaces
Inspection of matte and glossy surfaces
Flawless surfaces are a sign of quality. Soiling, cracks, scratches and dents reduce the value of a product or even make it unusable.
Human visual inspection is slow and expensive. In addition, there are fluctuations in the quality assessment and the susceptibility to errors is high. With an image processing system, reliable quality control of surfaces can be ensured.
Different surfaces require different optical inspection processes.
We use a wide variety of processes to suit the surface in question.
Set your permissible defect sizes.
For example, determine the permissible defect area for contamination in mm².
Our vision systems use high-resolution cameras. This allows the smallest defects to be reliably detected.
The field of application for optical surface inspection is wide. Do you want to test a metallic sealing surface, an optical plastic part or foil as web material? All these products require a specially designed test procedure.
Our laboratory is equipped with a variety of cameras and lighting. We select the appropriate method for your product and can simulate the inspection in our laboratory with your sample parts. This ensures an vision system that is optimally designed from the start and is ready for use immediately after integration into the machine, guaranteeing 100% control of your product quality.
During laboratory testing, we consider a wide variety of surfaces. Is the surface matte, high-gloss or even mirror-like? Is it flat or curved? Is the surface smooth, rough or does it have a natural structure?
You will receive a optical surface inspection system that is individually tailored to your task.
Deflectometry is an innovative surface inspection method. It can be used for glossy or reflective surfaces.
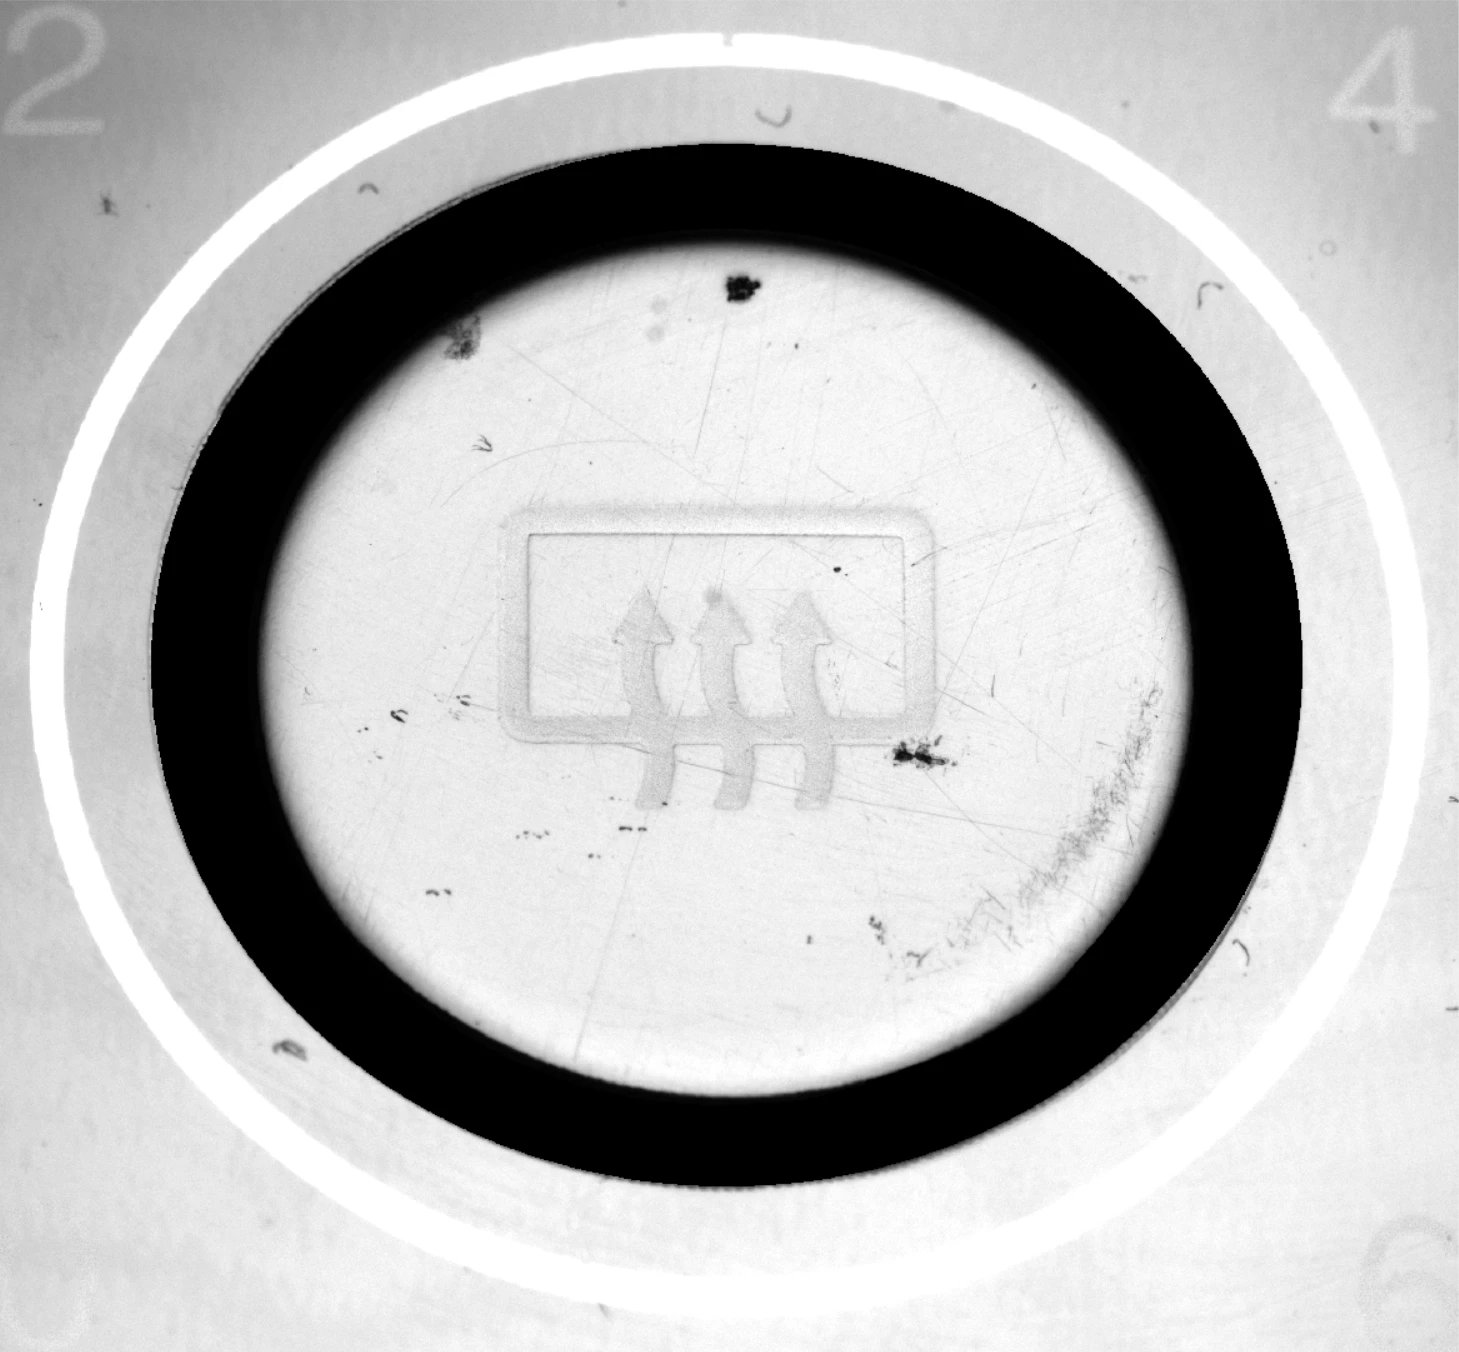
The finest surface defects, which cannot be detected with conventional methods, can be made visible with the help of deflectometry.
In the process, various patterns are projected onto the test object. The pattern images are then algorithmically evaluated and generate a new image in which even the finest scratches are visible.


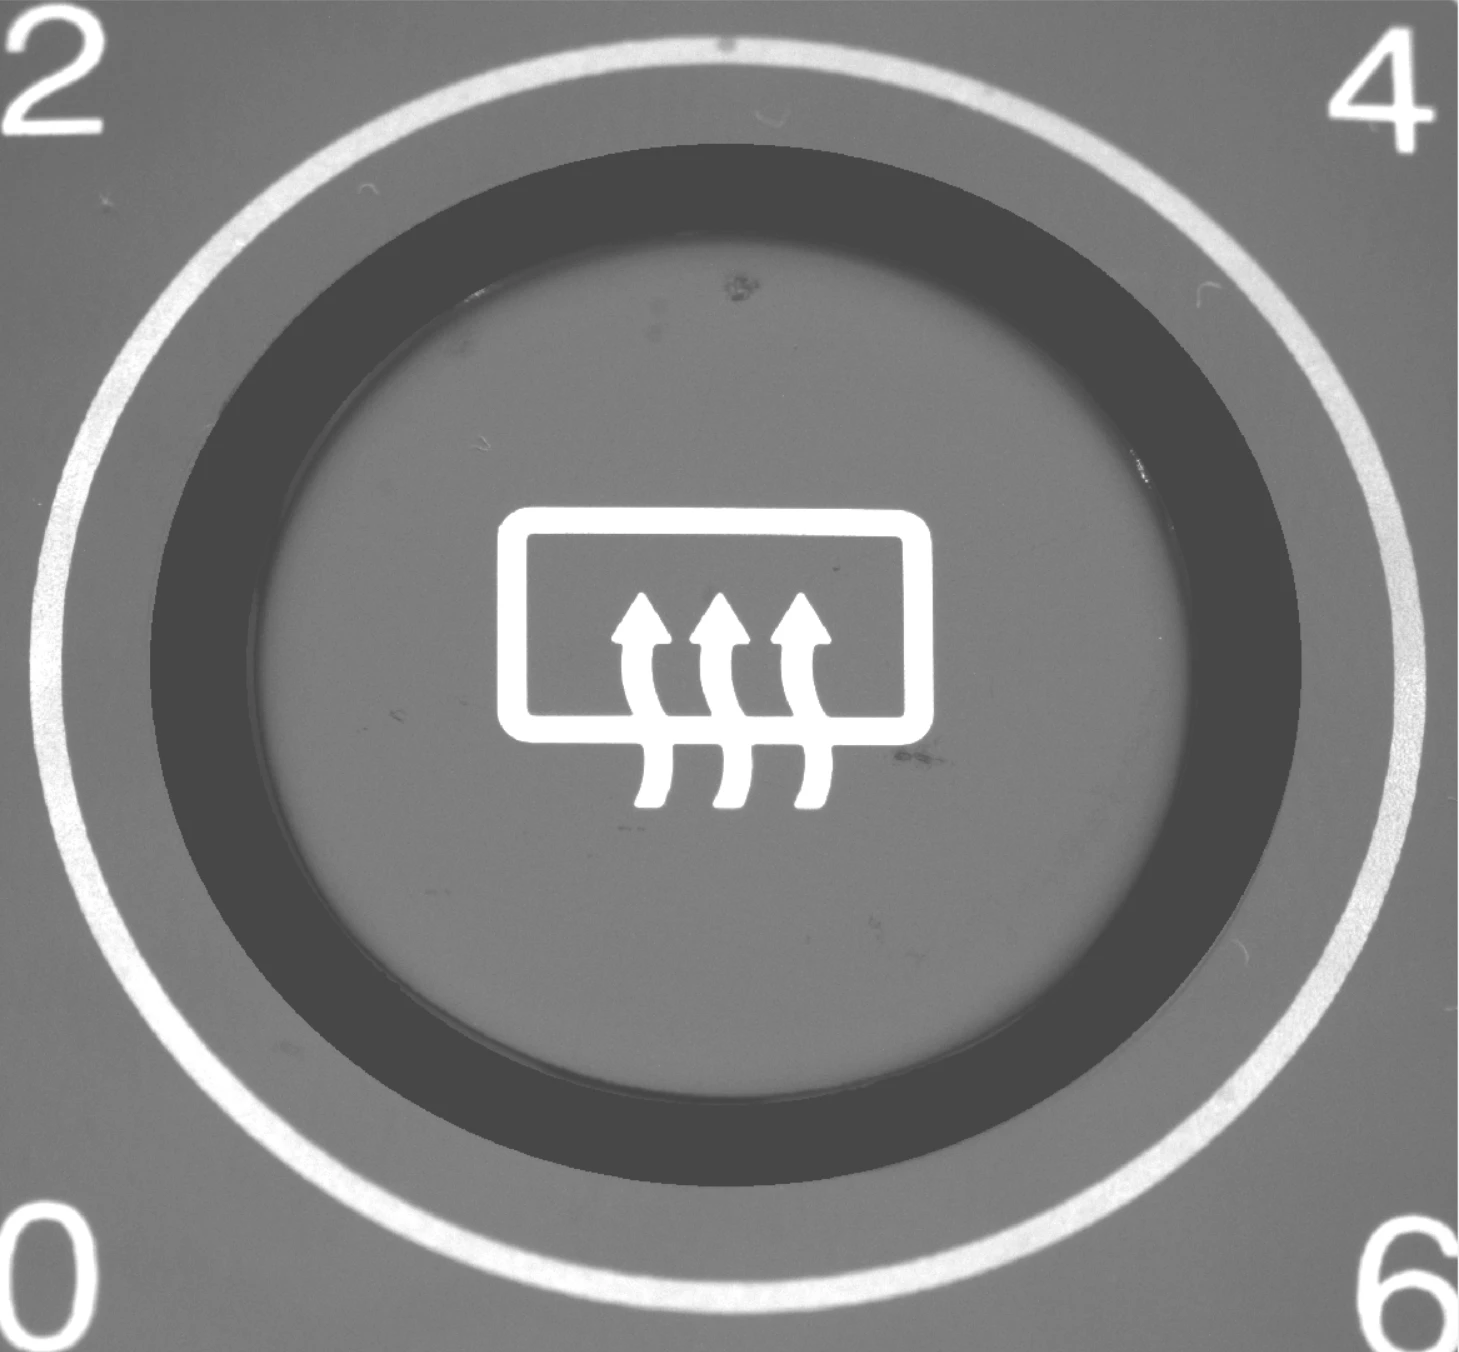
Deflectometry application using the example of a high-gloss switch: In the left image with conventional illumination, scratches are barely visible. In the right image created with the deflectometry process, scratches are clearly visible.